In last article we learned How to Install FreeNAS 8 on VMware vSphere 5 (ESXi 5) Now we are going to configure FreeNAS for VMware vSphere 5. Its very easy & straight forward.
Let’s start,
Open your FreeNAS URL in Web-browser e.g. http://FreeNAS-IP-Address
To configure NFSshare on your FreeNAS box, first we need to add volume. So navigate to Storarge->Create Volume as shown below.

Assign Volume Name, Select Media disk which would be the part of the Volume. Slect FileSystem type as “ZFS” & click on ADD Volume.

Turn on the NFS Service as shown below.

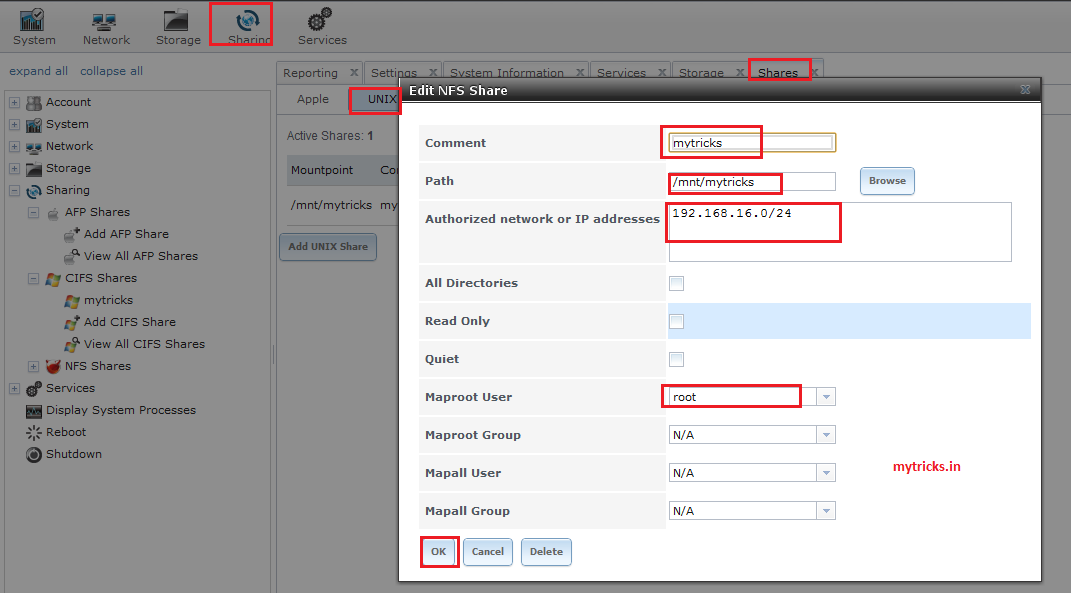
Now create the NFS share which will be visible for your vSphere 5 server. As you can see the root user is mapped to the root user I’m using on the other side on my ESXi system. Make sure that on both sides (i.e. on FreeNAS & VSphere 5) you use the same password to access NFS share.
Now login to your VSphere 5 server via VI client. Navigate to Configurations->Storage->Add Storage.

Select storage type as “Network File System” & click next.

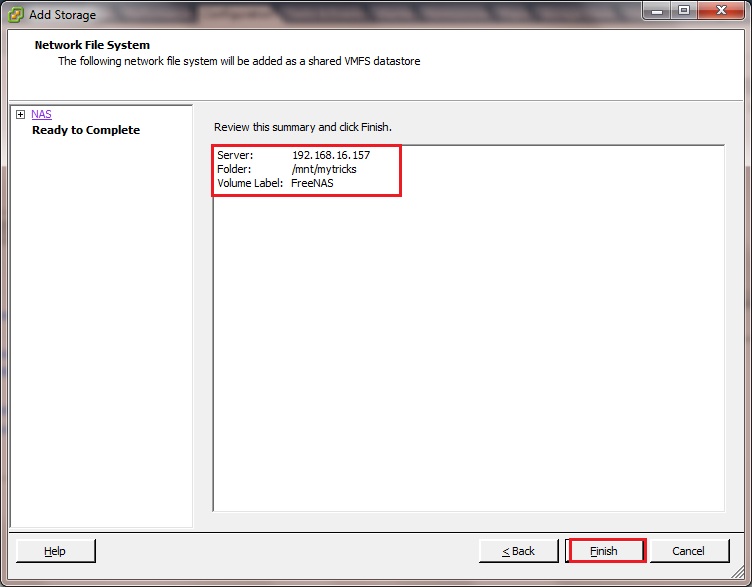
Provide your FreeNAS server IP & NFS Share folder name. Assign name to your datastore.

Click Finish to create new NFS datastore.
Now you can see the new NFS datastore.


Leave a comment